Tilt Shift Timelapse Tutorial
A quick tutorial to enhance your time-lapse short videos.
Point of view.
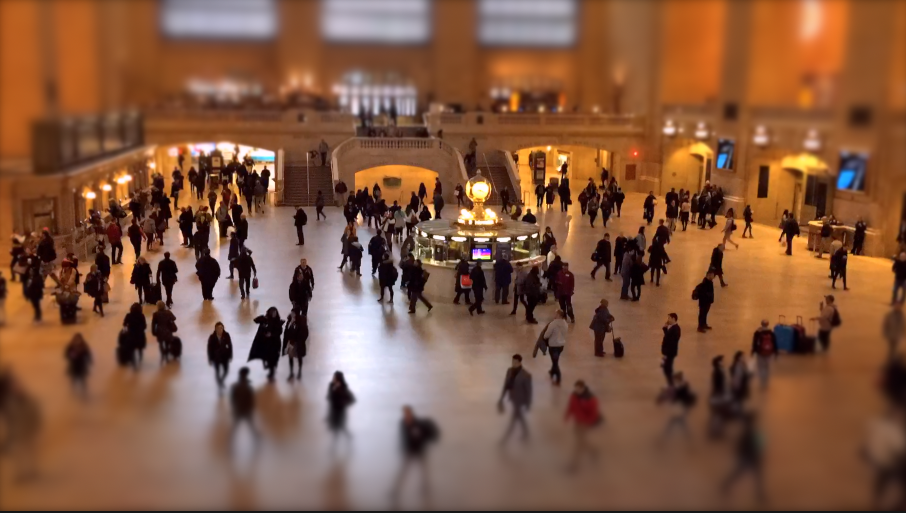
Shoot from above. Shoot from a building, a bridge, or a balcony to obtain the typical tilt shift “model effect” angle.

Use a tripod
Time lapse need a steady hand or even better a tripod. The above example is hand-held because at Grand Central Terminal in NYC tripod are not allowed, but shakes are visible. Tripods are necessary to keep the panning level and reduces shaking or jumps.
Pan
Move the camera in a panning motion every other shot ( two sec in this example) to give a better sense of the location, panoramic view, and a more lively effect. Use horizon, balcony, roofs as a reference to keep the entire shot leveled.
Tilt Shift
Tilt shift lenses are expensive and not worth the effort unless you need professional tilt shift. To obtain a similar effect use the “focus” adjustment in Final Cut Pro, iMovie, Adobe Premiere or Adobe Effects. Add the "Focus " effect to the frames and apply adjustments.
Play with Height, Softness and Amount to obtain the desired effect. ( see below my settings)


Before

After

Color Correction
To emphasize the “fake” model effect of tilt shift add Saturation and Vibrancy to colors.
Add Music
Music or sound always add emotion and a sense of participation to the scene.